On-Call Schedules
On-call schedules
On-call schedules define which agent is responsible for a department’s incoming tickets during a given time window. You manage schedules and their rotations from the Schedules tab on the On-Call page.
How it works
- You create a schedule for a department, giving it a name and timezone.
- You add rotations to the schedule, each assigning an agent to a start and end date.
- When a ticket arrives for that department, Auxilium checks which rotation is currently active and routes the ticket to the on-call agent.
Navigating the Schedules tab
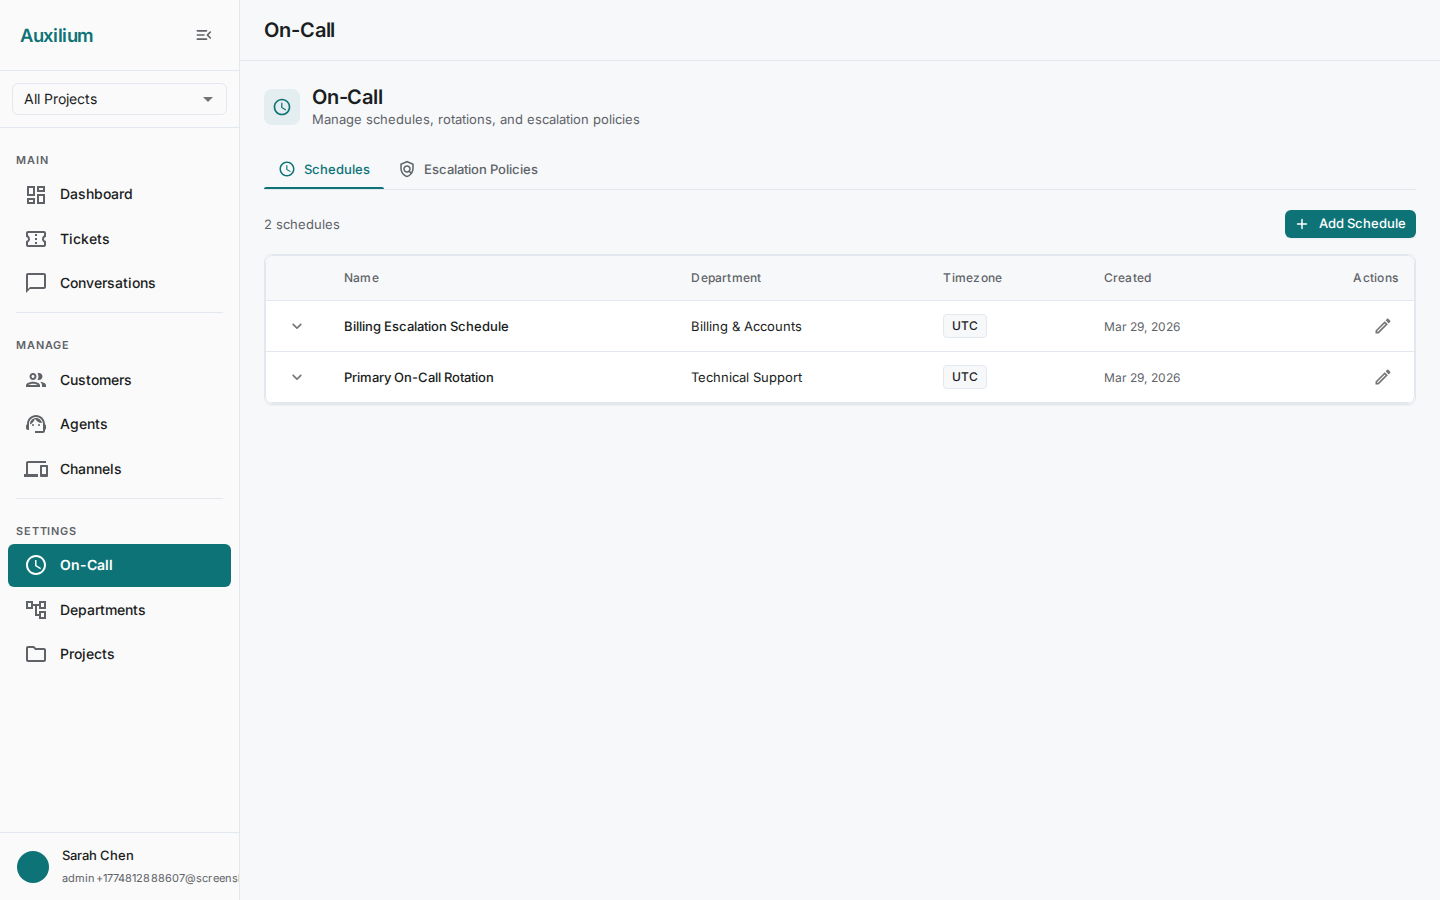
Go to Team > On-Call and select the Schedules tab. The schedules table displays expandable rows with the following columns:
| Column | Description |
|---|---|
| Name | The schedule name (e.g. “Weekday Primary”). |
| Department | The department this schedule covers. |
| Timezone | The IANA timezone the schedule operates in. |
| Created | Date the schedule was created. |
| Actions | Edit and delete controls. |
Click any row to expand it and reveal the On-Call Rotations subtable for that schedule.
Creating a schedule
- Click the Add Schedule button above the table. The Create Schedule dialog opens.
- Fill in the fields:
- Name – a human-readable label (e.g. “Weekend Coverage”, “Weekday Primary”).
- Department – select the department this schedule covers from the dropdown.
- Timezone – enter or select an IANA timezone identifier (e.g.
America/New_York,Europe/London).
- Click Create to save.
The new schedule appears in the table and can be expanded to add rotations.
America/New_York or Asia/Tokyo. Avoid UTC offsets such as GMT-5 – they do not account for daylight saving time, which can cause rotations to shift unexpectedly.Managing rotations
Rotations are the individual shifts within a schedule. Each rotation assigns a specific agent to a time window.
Viewing rotations
Click a schedule row to expand it. The On-Call Rotations subtable shows:
| Column | Description |
|---|---|
| Agent | The name of the agent on duty for this rotation. |
| Start date | When the shift begins. |
| End date | When the shift ends. |
Adding a rotation
- Expand the schedule row and click the Add Rotation button inside the rotations subtable.
- Fill in the Add Rotation dialog:
- Agent – select the agent from the dropdown.
- Start date – pick the date and time the rotation begins.
- End date – pick the date and time the rotation ends.
- Click Add to save.
The rotation appears in the subtable immediately.
Deleting a rotation
Click the delete action on a rotation row to remove it. The agent is no longer on call for that time window.
Example: weekly rotation
A common pattern is to create one schedule per department and add daily rotations that hand off between agents.
| Day | Agent | Start | End |
|---|---|---|---|
| Monday | Alice Chen | 09:00 | 17:00 |
| Tuesday | Bob Park | 09:00 | 17:00 |
| Wednesday | Carol Lima | 09:00 | 17:00 |
| Thursday | Alice Chen | 09:00 | 17:00 |
| Friday | Bob Park | 09:00 | 17:00 |
Create one rotation per day, selecting the appropriate agent and time window in the Add Rotation dialog.