Departments
Departments
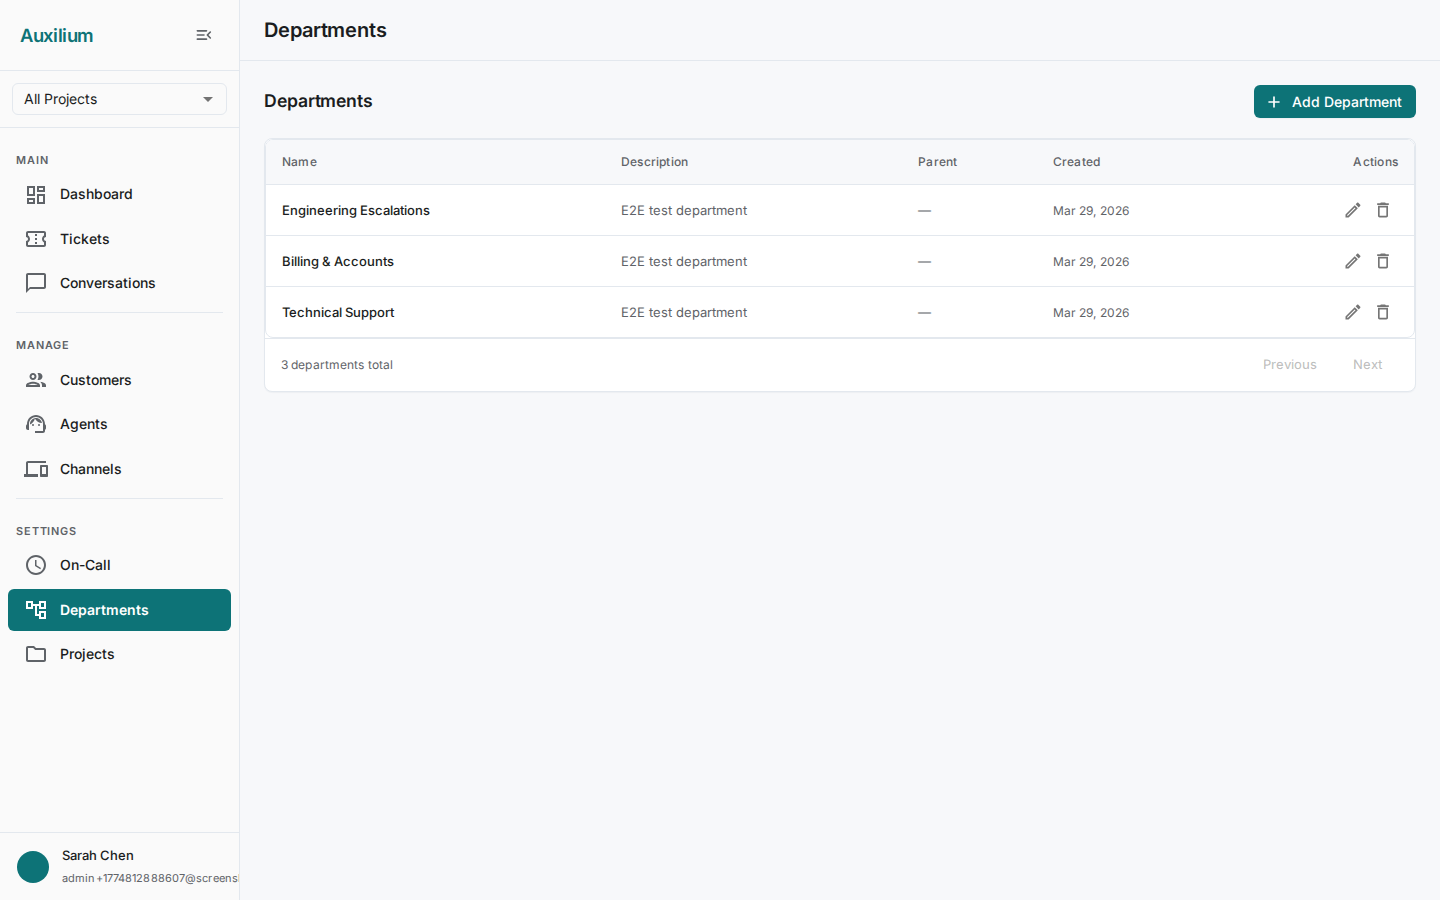
Departments are organizational units that group agents into teams – Engineering, Billing, Customer Success – and serve as routing targets for ticket assignment, on-call schedules, and escalation policies. The Departments page lets you create, edit, and delete departments from one place.
Viewing departments
Navigate to Team > Departments to open the Departments page. The header displays the department count and an Add Department button.
The department table has the following columns:
| Column | Description |
|---|---|
| Name | Department name. |
| Description | A truncated preview of the department’s description. |
| Parent | The parent department name, or a dash (–) for root departments. |
| Created | Date the department was added. |
| Actions | Edit and Delete buttons. |
Use the pagination controls at the bottom to navigate between pages.
Hierarchical structure
Departments can be nested to reflect your real organizational hierarchy. A root department has no parent. Child departments appear in the table with their parent’s name in the Parent column.
Support
  +-- Technical Support
  |     +-- Tier 1
  |     +-- Tier 2
  +-- Billing
  +-- Customer Success
The hierarchy is purely organizational – child departments do not inherit configuration or permissions from their parent.
Creating a department
- Click the Add Department button. The Create Department dialog opens.
- Fill in the fields:
- Name – a clear, descriptive name for the department.
- Description – a multiline text field for a longer explanation of the department’s purpose. Optional but recommended.
- Parent Department – select a parent from the dropdown to nest this department, or leave it set to None to create a root department.
- Click Create to save.
The new department appears in the table immediately.
Editing a department
- Click the Edit button on the department’s row. The Edit Department dialog opens with the current values pre-filled.
- Update the Name, Description, or Parent Department as needed.
- Click Save to apply the changes.
Deleting a department
- Click the Delete button on the department’s row. A confirmation dialog appears with a warning message explaining the impact.
- Review the warning, then click Delete to confirm or Cancel to back out.
When a department is deleted, agents in that department become unassigned. They are not removed from the system.
Assigning agents to departments
Agents are assigned to departments through the agent’s own settings. When creating or editing an agent, use the Department dropdown to place them in a department. An agent can belong to one department at a time.
How departments power ticket routing
Departments are the primary unit for ticket routing. When a ticket arrives through a channel, routing rules direct it to a department. Once routed, the ticket appears in that department’s queue and can be picked up by any agent in the department – or auto-assigned through on-call schedules.
Departments also serve as targets in escalation policies. When an escalation level targets a department, all agents in that department are notified.