Agents
Agents
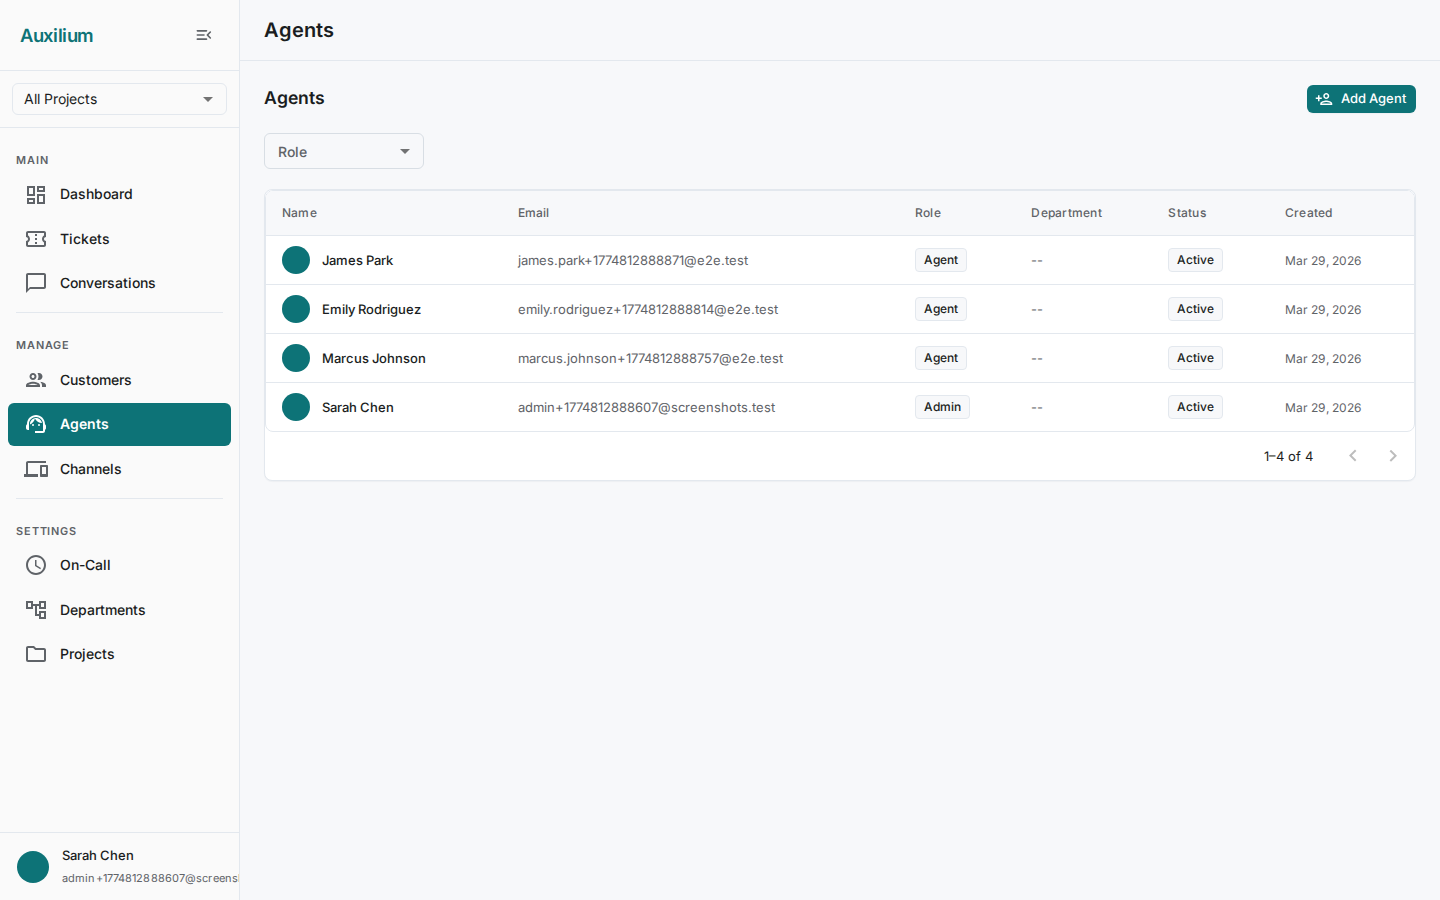
Agents are the human operators who handle support tickets in Auxilium. The Agents page lets you view your entire team at a glance, filter by role, and add or edit agents without leaving the browser.
Viewing agents
Navigate to Team > Agents to open the Agents page. At the top you will see the page header with an Add Agent button on the right.
Below the header is a Role filter dropdown. Use it to narrow the list to a specific role:
| Filter option | What it shows |
|---|---|
| All | Every agent in the tenant. |
| Admin | Agents with full access to tenant settings, team management, and all tickets. |
| Manager | Agents who oversee departments, reassign tickets, and view reports. |
| Agent | Front-line agents who work assigned tickets and respond to customers. |
The agent table displays the following columns:
| Column | Description |
|---|---|
| Name | Agent’s display name, shown with a circular avatar containing their initials. |
| Login email address. | |
| Role | A colored chip indicating Admin, Manager, or Agent. |
| Department | The department the agent belongs to, if any. |
| Status | An Active (green) or Inactive (gray) chip. |
| Created | Date the agent was added. |
Use the pagination controls at the bottom of the table to move between pages.
Adding an agent
- Click the Add Agent button in the top-right corner. The Create Agent dialog opens.
- Fill in the required fields:
- Name – the agent’s display name, shown on ticket assignments and throughout the UI.
- Email – must be unique within the tenant. This is the agent’s login address.
- Role – select Admin, Manager, or Agent from the dropdown.
- Department – optionally assign the agent to a department using the dropdown.
- Password – set an initial password (minimum 8 characters).
- Click Create to save the new agent.
The new agent appears in the table immediately and can log in right away.
Editing an agent
- Locate the agent in the table and click the Edit action on their row. The Edit Agent dialog opens.
- Update any of the following fields:
- Name – change the agent’s display name.
- Email – update the login address.
- Role – promote or change the agent’s role using the dropdown.
- Department – reassign the agent to a different department.
- Active toggle – flip this to deactivate or reactivate the agent.
- Click Save to apply changes.
Deactivating an agent
To prevent an agent from logging in or receiving new ticket assignments, open the Edit Agent dialog and turn off the Active toggle. The agent’s row will show an Inactive chip in the Status column.
Deactivated agents are not deleted. Their historical ticket assignments and audit trail remain intact. To reactivate, open the edit dialog again and turn the toggle back on.