Customer Experience
The customer portal provides a self-service interface where customers can log in, create support tickets, view their existing requests, and send replies – all within a branded experience. This page walks through the full customer journey.
Step 1: Sign in
Customers visit the portal URL and land on the login page.
The login page shows:
- The portal logo (if configured) centered above the form.
- The portal display name as a heading, styled with the primary color.
- An Email address field.
- A Password field.
- A full-width Sign in button that shows a loading spinner while authenticating.
- Help text at the bottom: “Need help? Contact your support team.”
The customer enters their email and password, then clicks Sign in. After successful authentication, they are redirected to the tickets list.
Step 2: View tickets
After signing in, the customer lands on the My Tickets page.
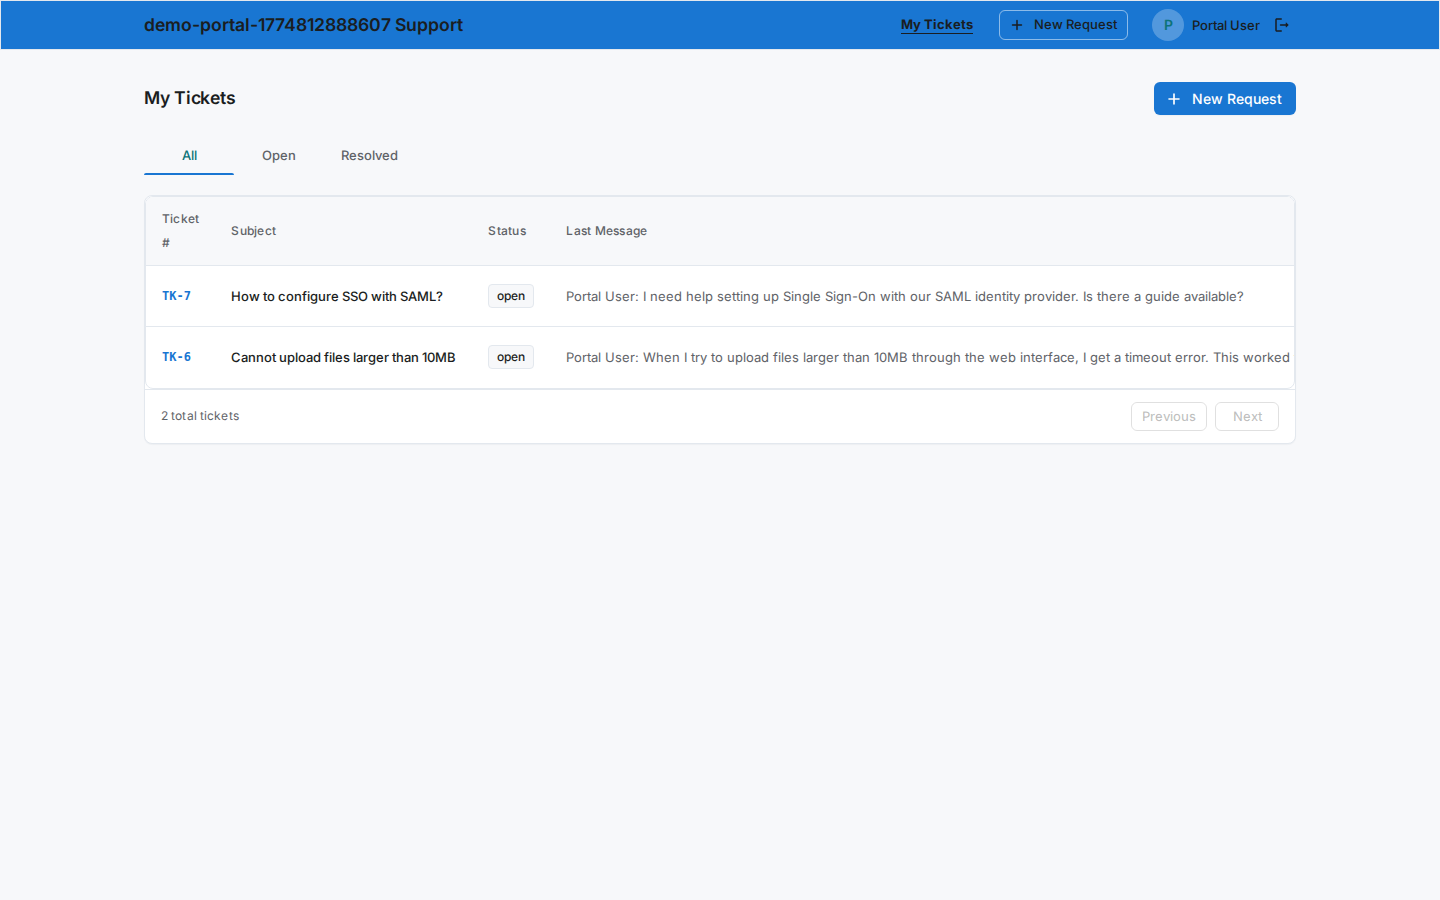
The page includes:
- A header with the title “My Tickets” and a New Request button.
- Status tabs for filtering: All, Open, and Resolved.
- A table listing the customer’s tickets with the following columns:
| Column | Description |
|---|---|
| Ticket # | The ticket number displayed in monospace text. |
| Subject | The ticket subject line. |
| Status | A colored chip showing the current status (Open, Resolved, etc.). |
| Last Message | The sender name and a preview of the most recent message. |
| Last Update | Relative timestamp (e.g., “2 hours ago”). |
- Pagination at the bottom with a total ticket count.
Click the status tabs to filter the list. Click any ticket row to open its detail page.
Step 3: Create a new ticket
Click the New Request button on the My Tickets page. The customer is taken to the new ticket form.
The form includes:
- A Back button to return to the tickets list.
- A “New Support Request” title.
- Subject – a text field (required, minimum 3 characters).
- Description – a multiline text area (optional) for additional context.
- Message – a multiline text area (required, minimum 10 characters) for the initial message body.
- Cancel and Submit Request buttons at the bottom.
After clicking Submit Request, the ticket is created and the customer is redirected to the ticket detail page.
Step 4: View ticket detail
The ticket detail page shows the full context of a single ticket.
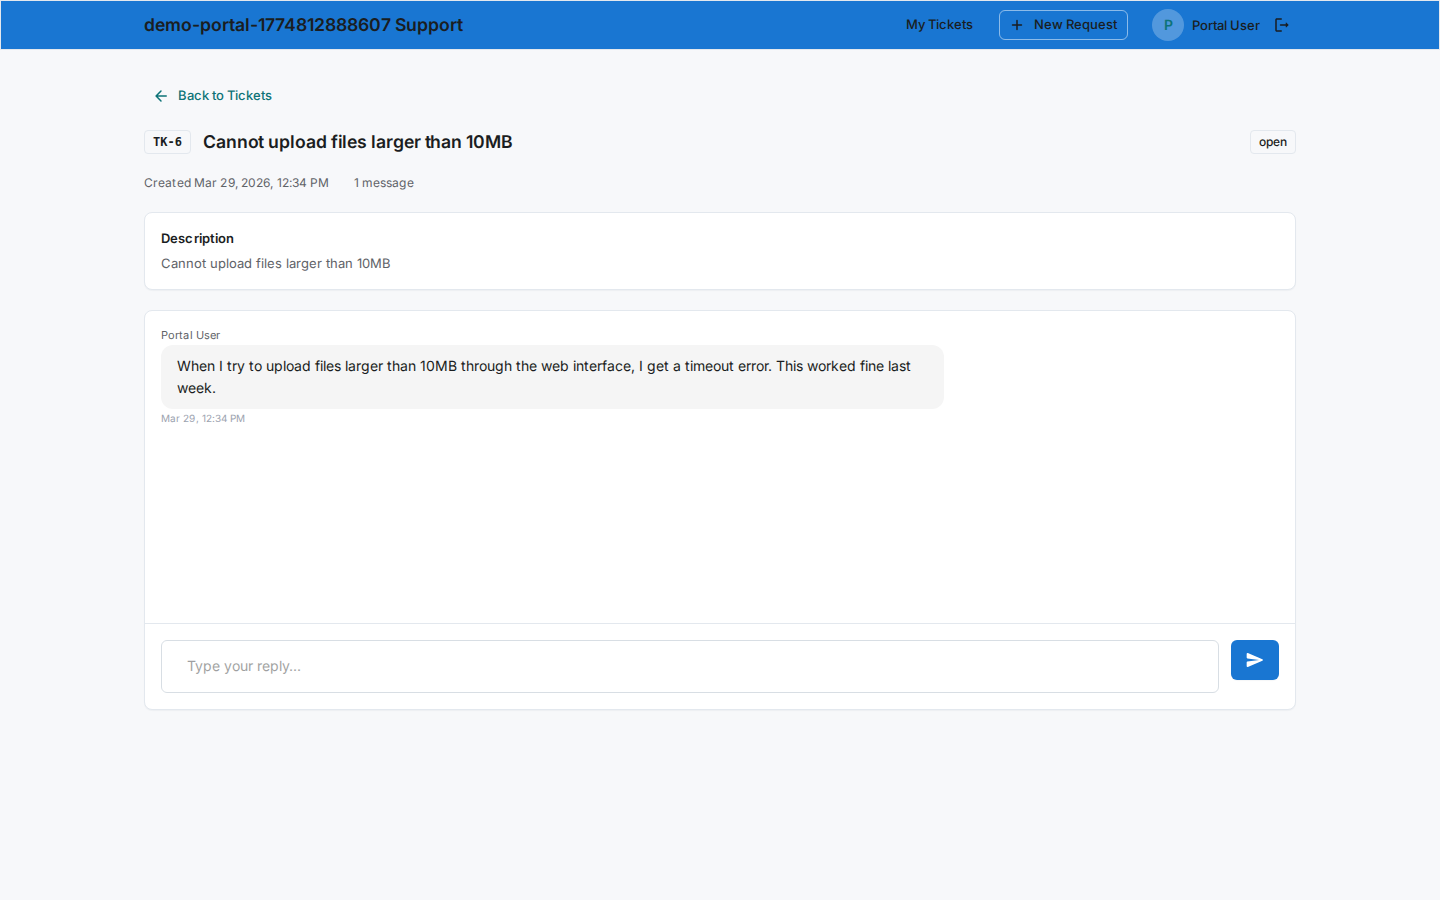
The page includes:
- Header – a Back button, the
TK-{n}ticket number chip, the subject, and a status chip. - Info bar – the created date and total message count.
- Description card – the ticket description (if one was provided).
- Conversation selector – if the ticket has multiple conversations across different channels, channel chips appear here so the customer can switch between them.
- Messages card – the full conversation history, rendered in the same style as the agent-side view:
- Email conversations show email cards with sender name, role, timestamp, and collapsible message body.
- Chat conversations show bubble-style messages with agent messages on the right and customer messages on the left.
Step 5: Reply to a conversation
At the bottom of the messages card on the ticket detail page, the customer finds the reply composer.
- Type a response in the text area.
- Click Send to post the reply.
The new message appears immediately in the conversation thread. Agents see it in their Inbox in real time.